The Glittern Gals SU group met at my house Sunday to make this adorable Scarecrow canvas.
We used asw many Stampin Up materials as we could. Here is Sharon and Debbie working on the background of their canvases. They had to paint the edges black, cut their background dsp and stencil on the black polka dots using the stencil from the Build a Banner kit. They used Mod Podge to glue the dsp to the canvan, Then they added a square of burlap and a smaller square of a coordinating dsp.

.JPG)
.JPG)
In the other room Heather, Jennifer, Michele, Luana and Terri are working on their canvases. There was a lot of prep work that had to be done before they could begin attaching everything to the canvas.


Luana

Michele
Terri

Jennifer

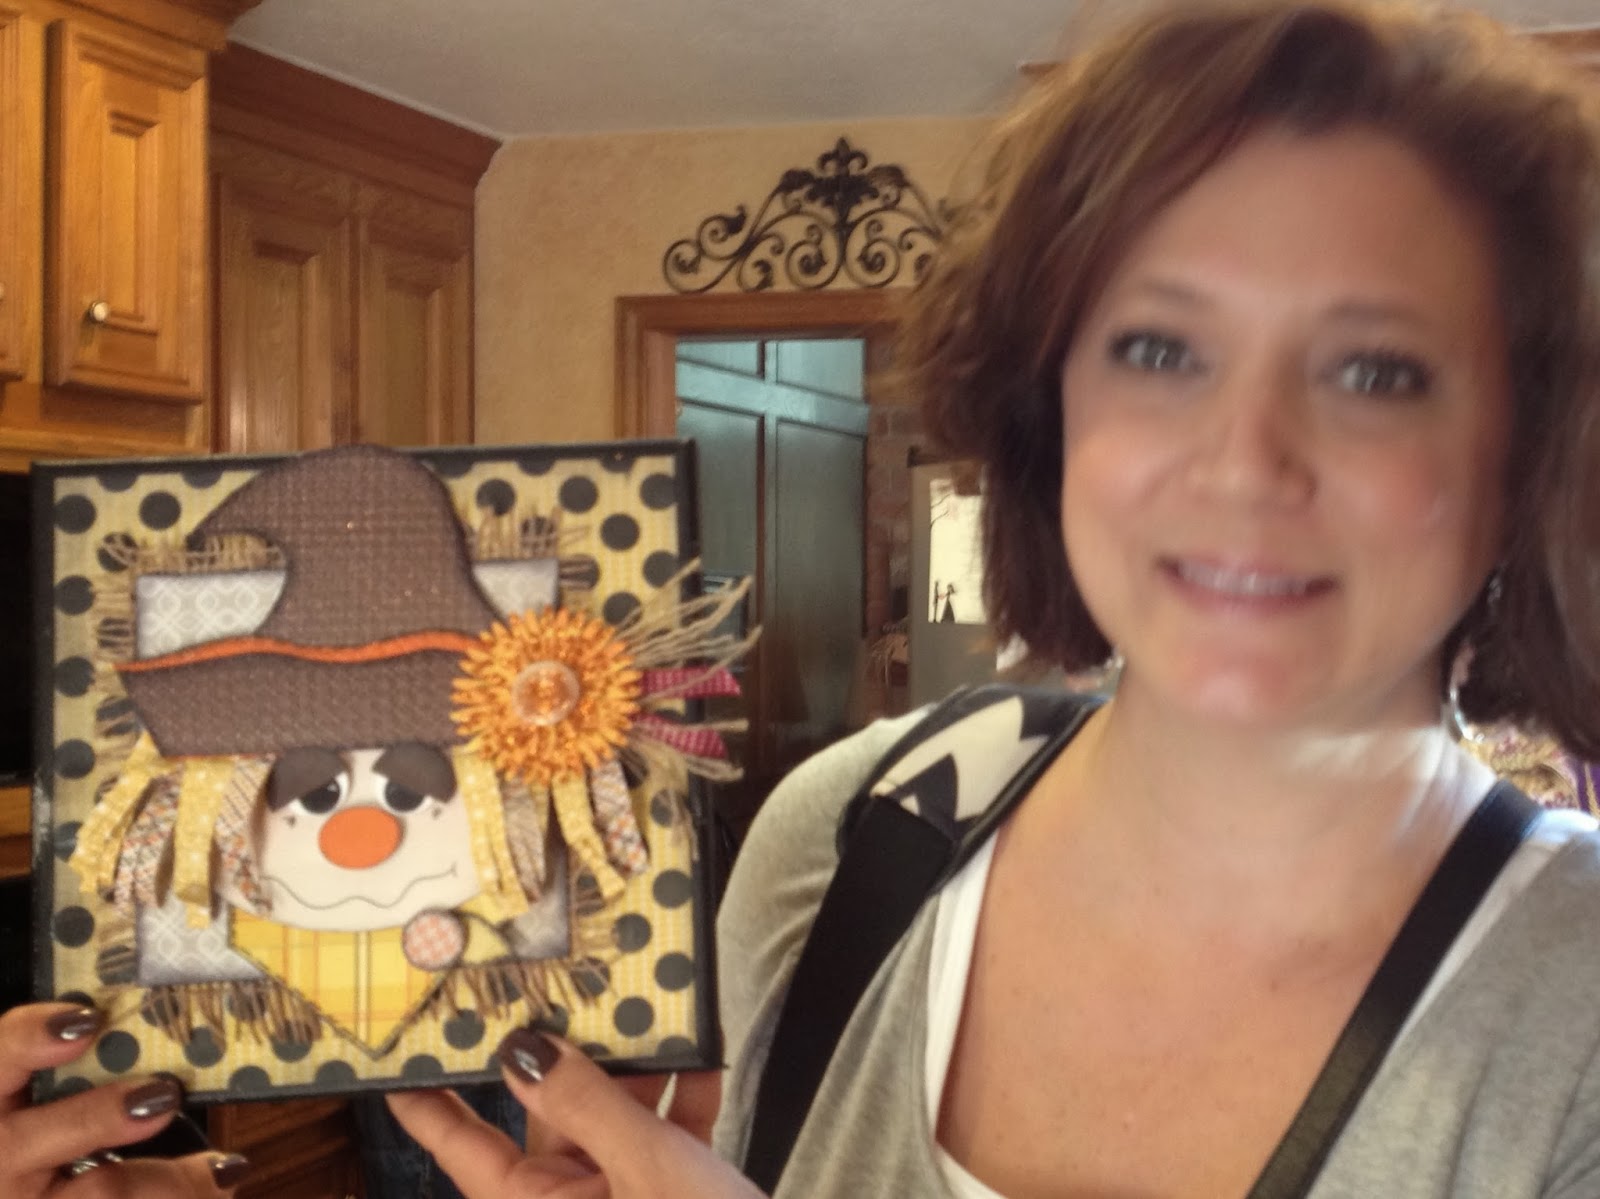
Melissa

Debbie

Somehow I missed having a close up of Sharon's, sorry.
Can't wait to have the Christmas Canvas Class!

These fellows were made by the SASSSC girls at our retreat last month.

.JPG)
.JPG)
.JPG)