
What a surprise to receive this award and an honor too. Thank you Cherie Franklin. Be sure to visit her blog at
stampcrave.
When you receive this award you need to:
1. thank the person who gave this award and link back to their blog
2. share 8 things about yourself
3. pass this award to 8 other individuals that you have recently discovered
4. leave a comment so that they can pass along the recognition!
8 things about me:- My favorite food is Mexican. I have it at least once a week, but could eat it almost every day! I love chips and salsa!!! I recently had dinner with Michelle Zindorf at Lupe Tortillas!
- I live in the great state of Texas, but have also lived in Mississippi, Louisiana, Tennessee, Massachusetts, Arkansas, and England.
- I raised three sons who are now married and have sons of their own. Of my six grandchildren, 5 are boys BUT I do have one beautiful granddaughter! Yeah!
- I recently retired from teaching kindergarten for 24 years. Now I can stamp anytime I want too.
- You should never retire because you become busier than ever and don't have time to stamp! boohoo!
- I love stamping and love sharing it with my friends! That is how I became a demonstrator. I may never build a successful business, but I will always love sharing the cards I make with anyone who wants to come over to my house and stamp!
- I am a Stampin' Up! blog stalker! I mean it! Nothing is more rewarding than finding a new blog to cruise and case! I can spend hours and hours just surfing from one blog to another.
- I am a 100% Stampin' Up! stamper and demonstrator! There is no better company to work for or stamp with! I love going to convention, leadership and regionals. It's fun, inspirational, motivational, and rewarding! (Free stamps!)
8 wonderful blogs I just recently found:
SU Only Challenges http://suochallenges.com/
Sandi Maciver http://sandimaciver.com/
Beth Crocker http://southerninkerbelles.blogspot.com/
Julie Edmounds http://inkrediblestamping.com/
Jakie Topa http://jackietopa.typepad.com/
Monica Weaver http://addalittledazzle.com/
Kerin Sylvester http://kerinstamps.com/
Connie Babbert http://inkspiredtreasures.com/
There are so many wonderful blogs out there. Be sure to visit these and check out their work. Thank you ladies for your hard work and wonderful inspiration.
 First up is a card made with the gorgeous Strength and Hope set that will be available during the month of May from Stampin' Up! SU is donating $2 from the sale of each set to Breast Cancer Research. I saw this layout on Stampin' Connection. Mary had used Baja Breeze and Soft Suede dsp from Elegant Soiree, a lovely combination. I wanted to translate that into the new Paisley Prints dsp that is available for purchase this month. It is a gorgeous designer paper that will be in the new catty that comes out in July. You can order it now with a $20 order. I paired the dsp with Pear Pizazz and Soft Suede.
  This card features Sew Suite stampset and the paper from Sweet Stitches. The cardstock colors are Melon Mambo and Pink Pirouette.
  Here is another look at the gorgeous Paisley Prints dsp! I also used one of the stamps from Four Frames, a brand new set that will be in the new catty in July. You can purchase this now with a qualifying $20 purchase.
  Last, I had to make a couple of these cute boxes that Mary Fish showed on her blog. There is a wonderful video tutorial that shows how to make them, so so easy! I totally cased them!
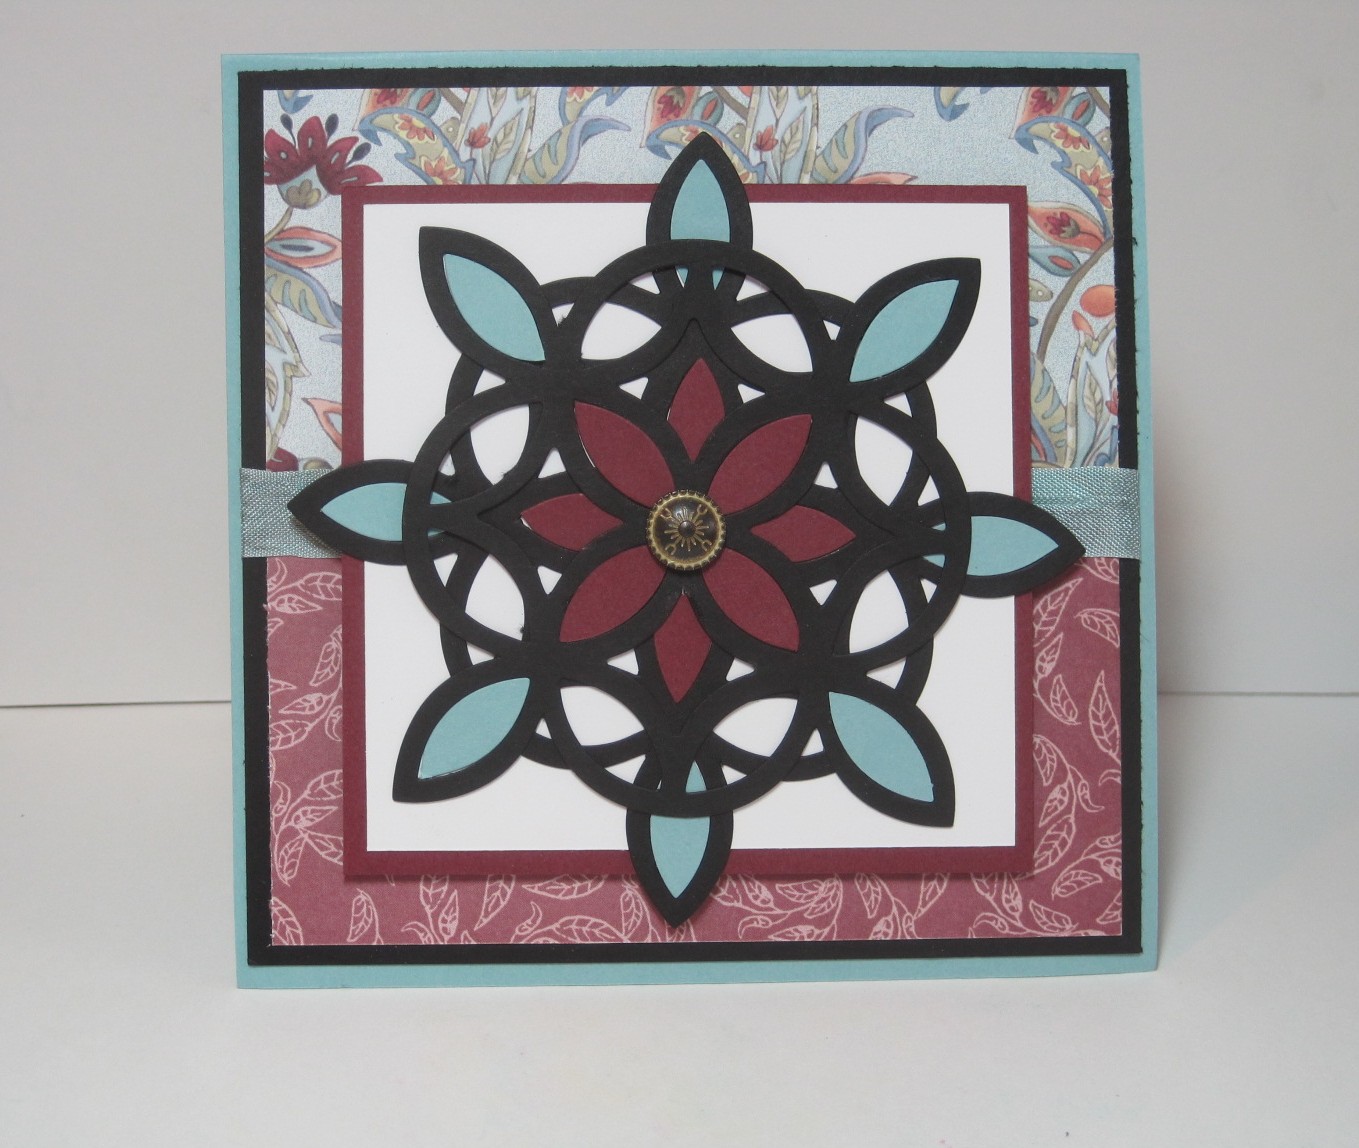


 Pierce through the center.
 Add a brad.


 thoroughly. The Craft & Rubber scissors can get really gummed up when you use them to trim rubber stamps, clean them with rubbing alcohol and a cotton ball. If cutting wire with the Craft & Rubber Scissors cut the wire at the back of the blade near the hinge for greater leverage and to keep the tips of the blade sharper. If, after time, you find your scissors have become a bit dull you can cut through tinfoil to sharpen them. If scissors need more sharpening they can usually be sharpened professionally because they are high-quality. Some fabric or kitchen stores have knife/scissor sharpening services or can recommend a reputable company.


