Tuesday, January 28, 2014

Happy Watercolor

Are you looking for a quick and easy card that can be made from ONE stamp set? Look no farther. Happy Watercolor, page 22 in the Stampin' Up! occasion mini, is a great set to have. It come with two floral stamps, two "swipe" stamps, dots, and three different word stamps. I used the new 2103 in colors for this card. The card base if Strawberry Slush. I stamped on Whisper White.
I used Pistachio Pudding, Crisp Cantaloupe, and Strawberry Slush for the three "swipes" of color, Be sure to clean your stamp well between each color.


Happy Watercolor (wood) 133188 $29.95; (clear) 133191 $21.95;  pg 22

C U L8TR ALIGATOR


Sale-a-bration is here and this is one of my favorite FREE stamp sets I earn with my $50 order! It's called See Ya Later. I used another FREEBIE...the Decorative Dots embossing folder. The card base if Whisper white cut 4 1/4  x 9 1/2 , and scored at 5 1/2. I used a 4 x 3 3/4 piece of old olive which was embossed. The dotted paper is from the Polka Dot Parade designer paper, cut 4 x 2.
I used black and old olive markers to color the stamp. I used the chalk talk framelit to punch it out. Then is cut a piece of black card stock 2 x 3 1/2 and punched both ends with the new Scalloped Tag punch found in the new Occasions Mini 2014 catty. I was so excited to discover this!

Tuesday, January 21, 2014

Stampin' Up!'s new hexagon thinlit

 
I love the way the hexagon thinlit makes a kind of bee hive look for this card. Be sure to use a layer of wax paper between the cardstock and thinlit for ease of cutting. Without the wax paper my first two attempts just tore around the thin edges of the black cardstock. BUT with the wax paper there was no tearing and everything just popped out so easily. I also stamped the bee with versamark and then black embossed it. I used Daffodil Delight and Smokey Slate to color the bee.


Perfect Pennants pg 27
Wood 133227, clear 133230
Hexagon Thinlits Die pg 26  132965
Backyard Basics pg 79 IB&C
Backyard Basics Framelits pg 187 IB&C
Available as a bundle see pg 79.
 
Black, Whisper White, and Daffodil Delight cardstock
Daffodil Delight seam binding and Black Chevron ribbon

Sunday, January 19, 2014

Glittern Gals Swaps from the new Occasions Mini and SAB

The monthly meeting of the Glittern' Gals demonstrators group was at my house today. We have a very talented group of ladies and I love to swap with them. Just look at all the wonderful cards I received today!
 
 This one is mine (Laura). It was inspired by a swap I received at leadership.
I used the Gold metalic ink pad for all the stamping.
Off the Grid and Chevron background stamps, Language of Love,
Crumb Cake and Very Vanilla cardstock

Made by Adriana C
 Made by Debbie L
 Made by Ann G
 Made by Terri M

This is a wonderful gift bag made by Luana. She used a 12x12 piece of dsp. It is scord at 4 and 8" along one side, and 5 and 7" along the other side.

 Made by Linda using the Sweetheart Treat bags from theWhole Lot of Love promotion
 Made by Debbie J
 Made by Linda H
 Made by Lynda G
Made by Peggy

Sunday, January 5, 2014

Emboss ResistTutorial

This is the card I made to swap at Leadership later this week. I used the new stamp called "People like you" and I used the emboss resist technique for it. Below are the steps I completed to make this card.
On a 3x4 piece of vanilla card stock, I stamped the image with versamark and then covered it with clear embossing powder.

I heat set the embossing powder with my heat gun. See how it is shiny? The bit of color you might see is from the bit of left over ink that was on the stamp.I should have cleaned it better.

I used Daffodil Delight, Strawberry Slush, and Pistachio Pudding to color the image.
I started with the Strawberry Slush. With the pad closed, press it a few times to transfer some ink to the lid. Using an aqua painter, add some water to the ink. Then use the watered ink to color around the edges of your stamped panel as shown in the next photo.
You can see that I just added the color all over leaving some edges untouched.
Next I added more color over the stamped flower to make it pop. I dipped my painter into the undiluted ink for this.
Then I added the Daffodil Delight around the edges of the vanilla panel.
Finally, I used the Pistachio Pudding marker to color the stems.
I mounted the stamped panel onto a 3 1/2 x 4 1/2 panel of Strawberry Slush card stock.
Added the Pistachio Pudding ruffled trim.
Emboss the Pistachio Pudding card front with the new Scallops embossing folder.
Stamp the sentiment onto vanilla card stock and punch out withe the Decorative Label punch.

Monday, October 21, 2013

Scarecrow canvas project


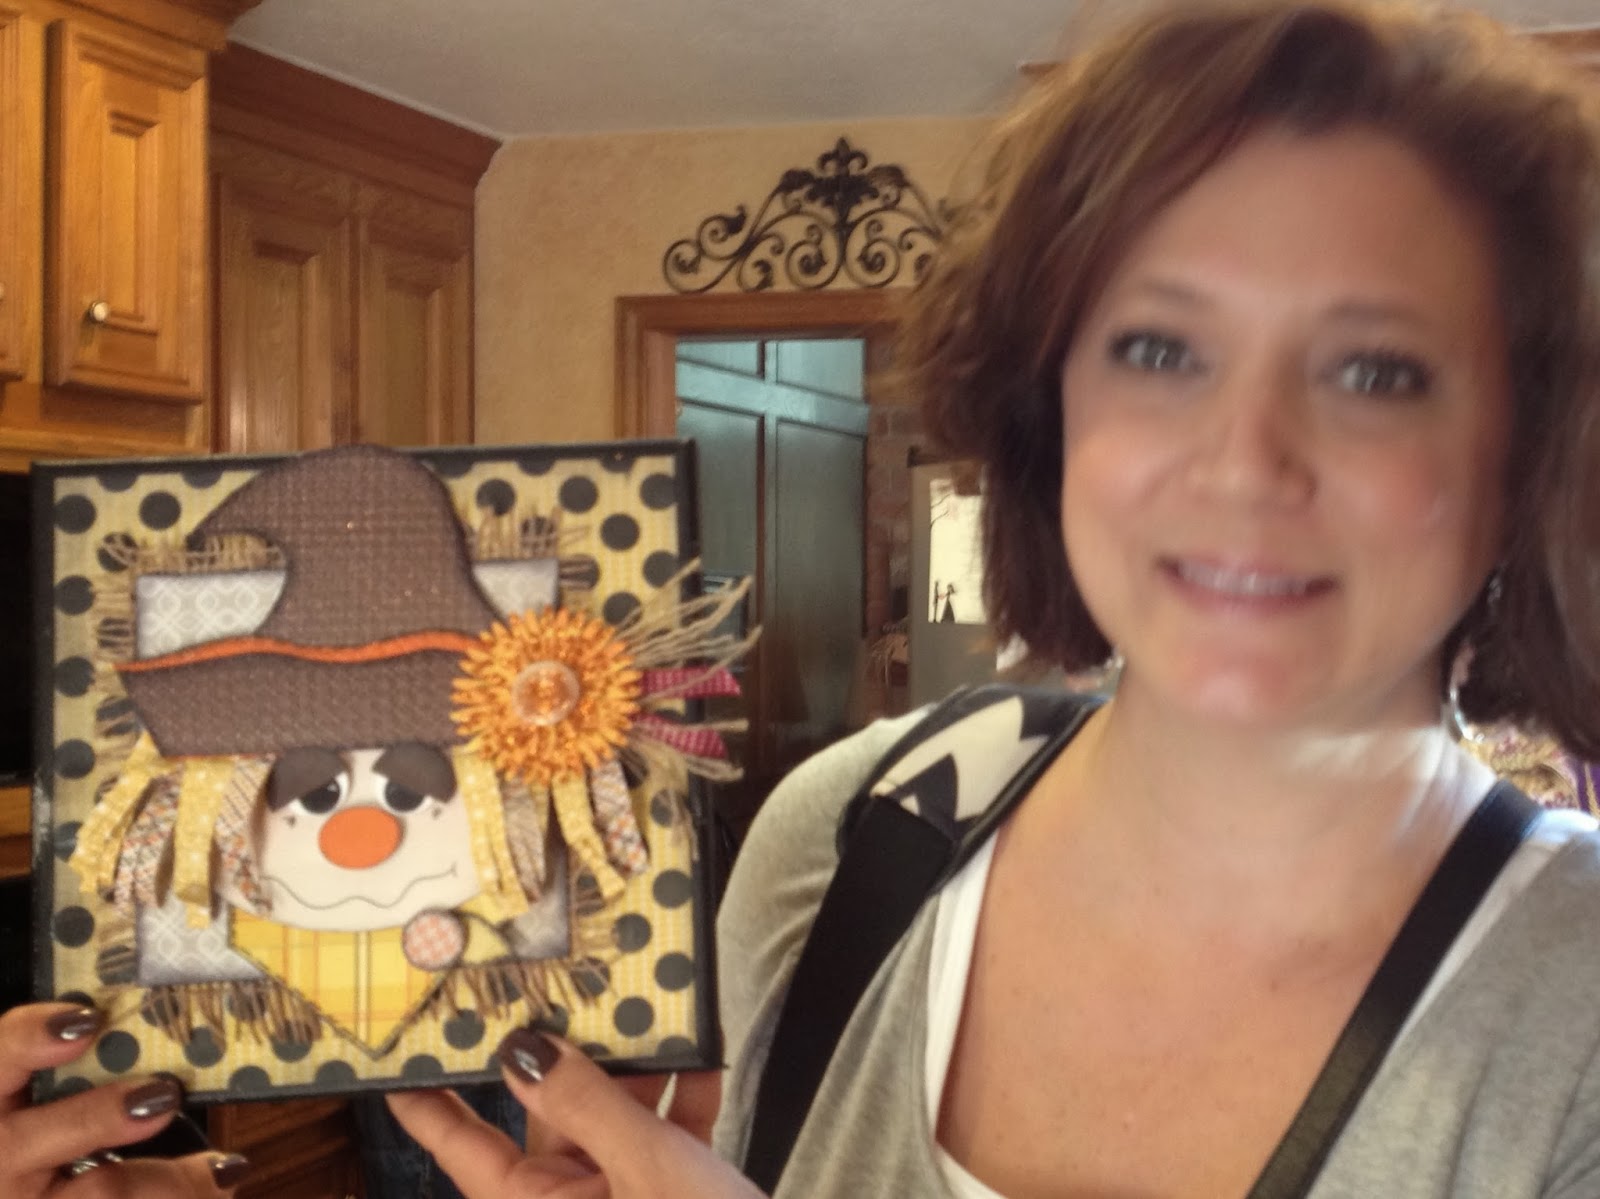
The Glittern Gals SU group met at my house Sunday to make this adorable Scarecrow canvas.
We used asw many Stampin Up materials as we could. Here is Sharon and Debbie working on the background of their canvases. They had to paint the edges black, cut their background dsp and stencil on the black polka dots using the stencil from the Build a Banner kit. They used Mod Podge to glue the dsp to the canvan, Then they added a square of burlap and a smaller square of a coordinating dsp.

 Luana is adding glitter to the big daisy that will embellish the scarecrows hat. The daisy was die cut using the big shot machine.
 Another view of Sharon and Debbie attaching the burlag to the canvas using Mod Podge.
In the other room Heather, Jennifer, Michele, Luana and Terri are working on their canvases. There was a lot of prep work that had to be done before they could begin attaching everything to the canvas.
Here is a group shot of the finished projects. They all followed the same dierctions and had the same pattern, but each scarecrows had is own unique expression. So cute!
Heather
 Luana
 Michele
 Terri
 Jennifer
 Melissa
 Debbie
Somehow I missed having a close up of Sharon's, sorry.
Can't wait to have the Christmas Canvas Class!
These fellows were made by the SASSSC girls at our retreat last month.

Friday, October 11, 2013

October stamp club projects

Wanted to show you what we did for stamp club this month.

 
First up is a file folder card made using the envelope punch board. I used designer paper from Sweater Weather. The leaf is from Gently Falling and I used the rock and roll technique to ink the stamp pad. I first inked the entire leaf with Crushed Curry and then "rolled" the edges of the stamp into Soft Sky. Stamp each leaf, reinking after each stamp. One of my ladies wanted to know where the green ink pad was, lol. I reminded her about what happens when you mixed yellow and blue. This beautiful card was a case from Catherine Pooler and I followed her wonderful video here.
 This card was cased from Amy O'Neil. You can see her original card here. I used Pistachio Pudding ink and cardstock for my card. I also used the new Artisan Label punch as the landing pad for each of my butterflies. The designer paper for the butterflies is from Venetian Romance. The cardstock colors are Island Indigo, Crisp Cantaloupe, Soft Suede, Pistachio Pudding.
 This is a case from Patty Bennet and features the new Chevron punch. Quick and easy.
 This last card is from the fabulous Ms Jan Tink. It features the emboss resist technique.
Thanks to all the talented ladies that I used as my muse this month. You guys ROCK!

Thursday, September 19, 2013

Three Spooky Friends for Halloween

Happy Halloween, or Almost!

 
I wanted to share the three mixed media projects I did for Halloween. I saw the ghost and pumpkin at the Stampin' Up! convention in July. The little ghost was my very first mixed media attempt. They are really easy and fun to make. I used paper from the Witches' Brew Designer Series pack as well as the coordinating Washi Tape. I found the foam spider webs at Michael's. It is a coaster that I cut to fit the corner. I stamped the bat, candy corn, and words using the Halloween Hello stamp set. I added some Orange glitter to the hat band. The spider, eyes and mouth are free handed with a permanent black fine tip marker.


 This is little Miss Halloween. She is a case from a design I saw on Pinterest. Again I used the Halloween Hello stamp set as well as Everything Eleanor for the flourish. I drew her curls free handed with a marker and added the black rhinestones for bling. More orange glitter on her hat. The white letters for happy halloween are just stickers.
 Little Pumpkin Boo is another one of the designs shown at convention. Same paper and stamp set as before.

Tuesday, September 10, 2013

Last Open House Post Featuring MDS and Thinlits

Hello, welcome back to my posts covering the Glittern' Gals' Annual Open House. Today I will share with you some samples made by Debbie J. She is our resident expert on all things MDS. I have to admit I have MDS on my computer and lots of downloads, but I am still intimidated by it. Debbie has promised to start holding classes for us demos to help us get up to snuff, so to speak. Anyway look at these wonder samples from Debbie J.
 This sample combines a MDS background with 3D stamping using the Harvest of Thanks set from the Holiday Mini.
 I love how Debbie added the 3D ornaments made from the Ornament Framelits to the side of the frame.
 Show your patriotic pride with this Subway art created on MDS. Add some die cut starts for dimension.
 What a neat idea way to make a collage of photos!

 The following samples feature the brand NEW Circle Thinlits Die. It cuts and scores the card for you in one easy turn of the Big Shot handle! It's SO new it didn't make it into the catalog so I'll give you the order number...133480 at $32.95.
This card was made using last year's angel, but I can see it working really well with the Christmas Dove in the Holiday Mini called Calm Christmas, pg 26.
I love the gold stars stamped randomly over the Cherry Cobbler using the Gold Metallic Encore pad on pg 28.


 The last two samples were made with the Label Card Thinlits Die #133479 also $32.95.
Thank you Debbie J for a job well done. I hope you will enjoy making your own "swing" cards.